All hands on deck! Here’s our step-by-step guide on recreating your weekly salon manicure at home.
Aside from it being a pampering treat for one’s self, we head over to our favourite nail salon for a fresh manicure mainly because we’re either too lazy to do it, or we’re complete amateurs at tending to our nails (try getting a perfect paint job with your non-dominant hand). However, going to a salon every week or every few weeks can sometimes feel like a chore, especially if you’re leading a rushed and busy lifestyle. Sometimes, it’s even downright impossible if we’re needed to stay at home for long periods of time – you guessed it, another MCO article.
In that vein, attempting an at-home manicure isn’t the rocket science activity that has paralysed us this whole time, it’s actually pretty straightforward. All it takes if the right tools, some good sense, and a smidge of patience.
Prep your nails
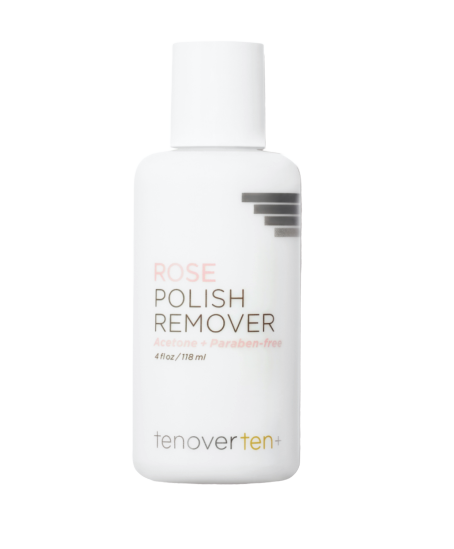
 Like most, if not all projects, having a good preparation can pay off with ideal results. If done properly, well-prepped home manis can last up to a little over 7 days. Before you begin getting creative, it’s crucial to ensure your nails have been cleaned and any old colour removed. Choose a gentle nail polish remover such as the Tenoverten Rose Polish Remover, it doesn’t contain any acetone and won’t dry out your nail and cuticles thanks to its inclusion of horsetail leaf extract, aloe, and vitamin E.
Trim and shape
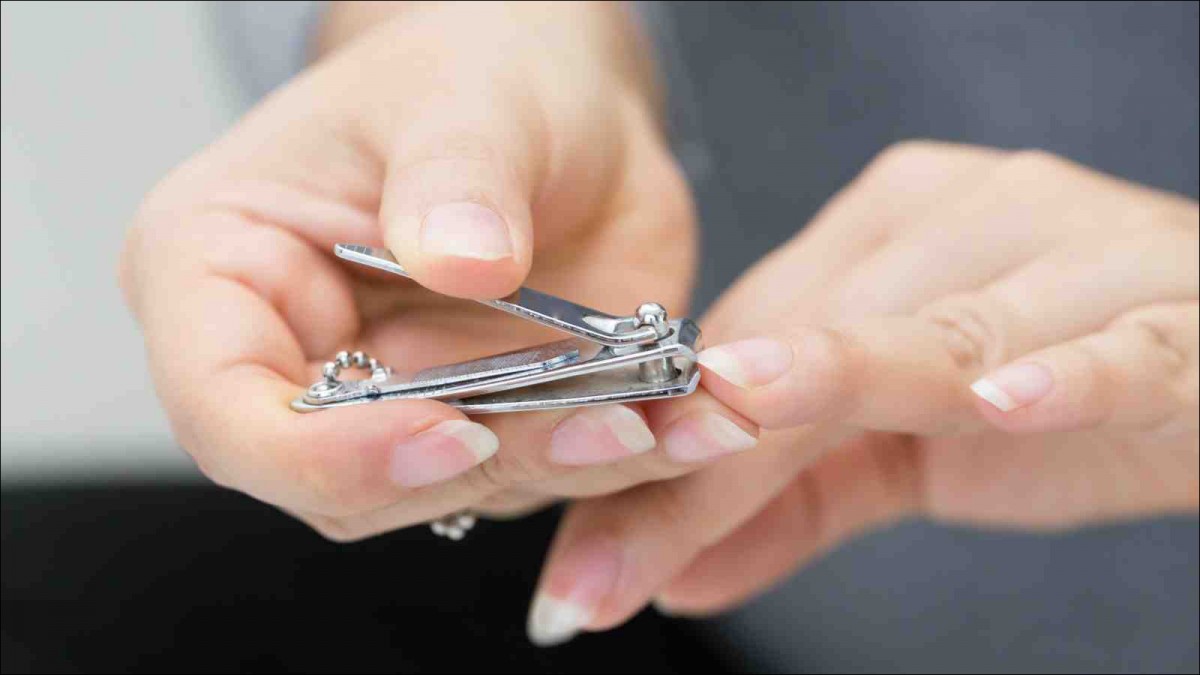
 When it comes to giving your nail a neat and elegant shape, keep in mind the 90/10 rule. 90% of your nail’s shape comes from trimming and clipping, and 10% from filing. Use a high-quality and sharp nail clipper to cut your nail into your desired shape, then gentle smooth out the edges with a nail file. After setting the shape, give your nail surface a quick wipe down with a gentle nail polish remover to prevent any excess oils interfering with your nail polish.
As for trimming your cuticles, try to avoid doing so in this case. If done incorrectly, trimming cuticles can create more hangnails, jagged edges, and has a possibility of infection. At-home manicure jobs should only stick to trimming away hangnails. After that, use a buffer like this 4-step Buffer from the Sephora Collection, and glide it back and forth along the edges of the cuticle to gently slough away dry skin.
However, if you have unruly cuticles, opt for a cuticle remover instead like this one from Deborah Lippmann to help soften the cuticles before gently pushing them back with a cuticle pusher. In case there are any pieces of skin hanging around, use a pair of cuticle nippers. First place the head of the nipper at the base of the hanging skin, then close and open the jaw in the same spot. Never, ever pull at the skin to avoid severely damaging your cuticles., which could lead to infection.
Time for the paint job
 If you want your nail colour to stay as long as possible, apply a thin layer of base. Think of it like priming your face before applying makeup – a good base fills in any ridges and smoothes out the nail while helping to prevent staining, while maintaining the nail’s health. Deborah Lippman also makes a protein-rich Base & Top Coat that is especially good for weak nails. Always wait until the base coat is dry before applying your colour.
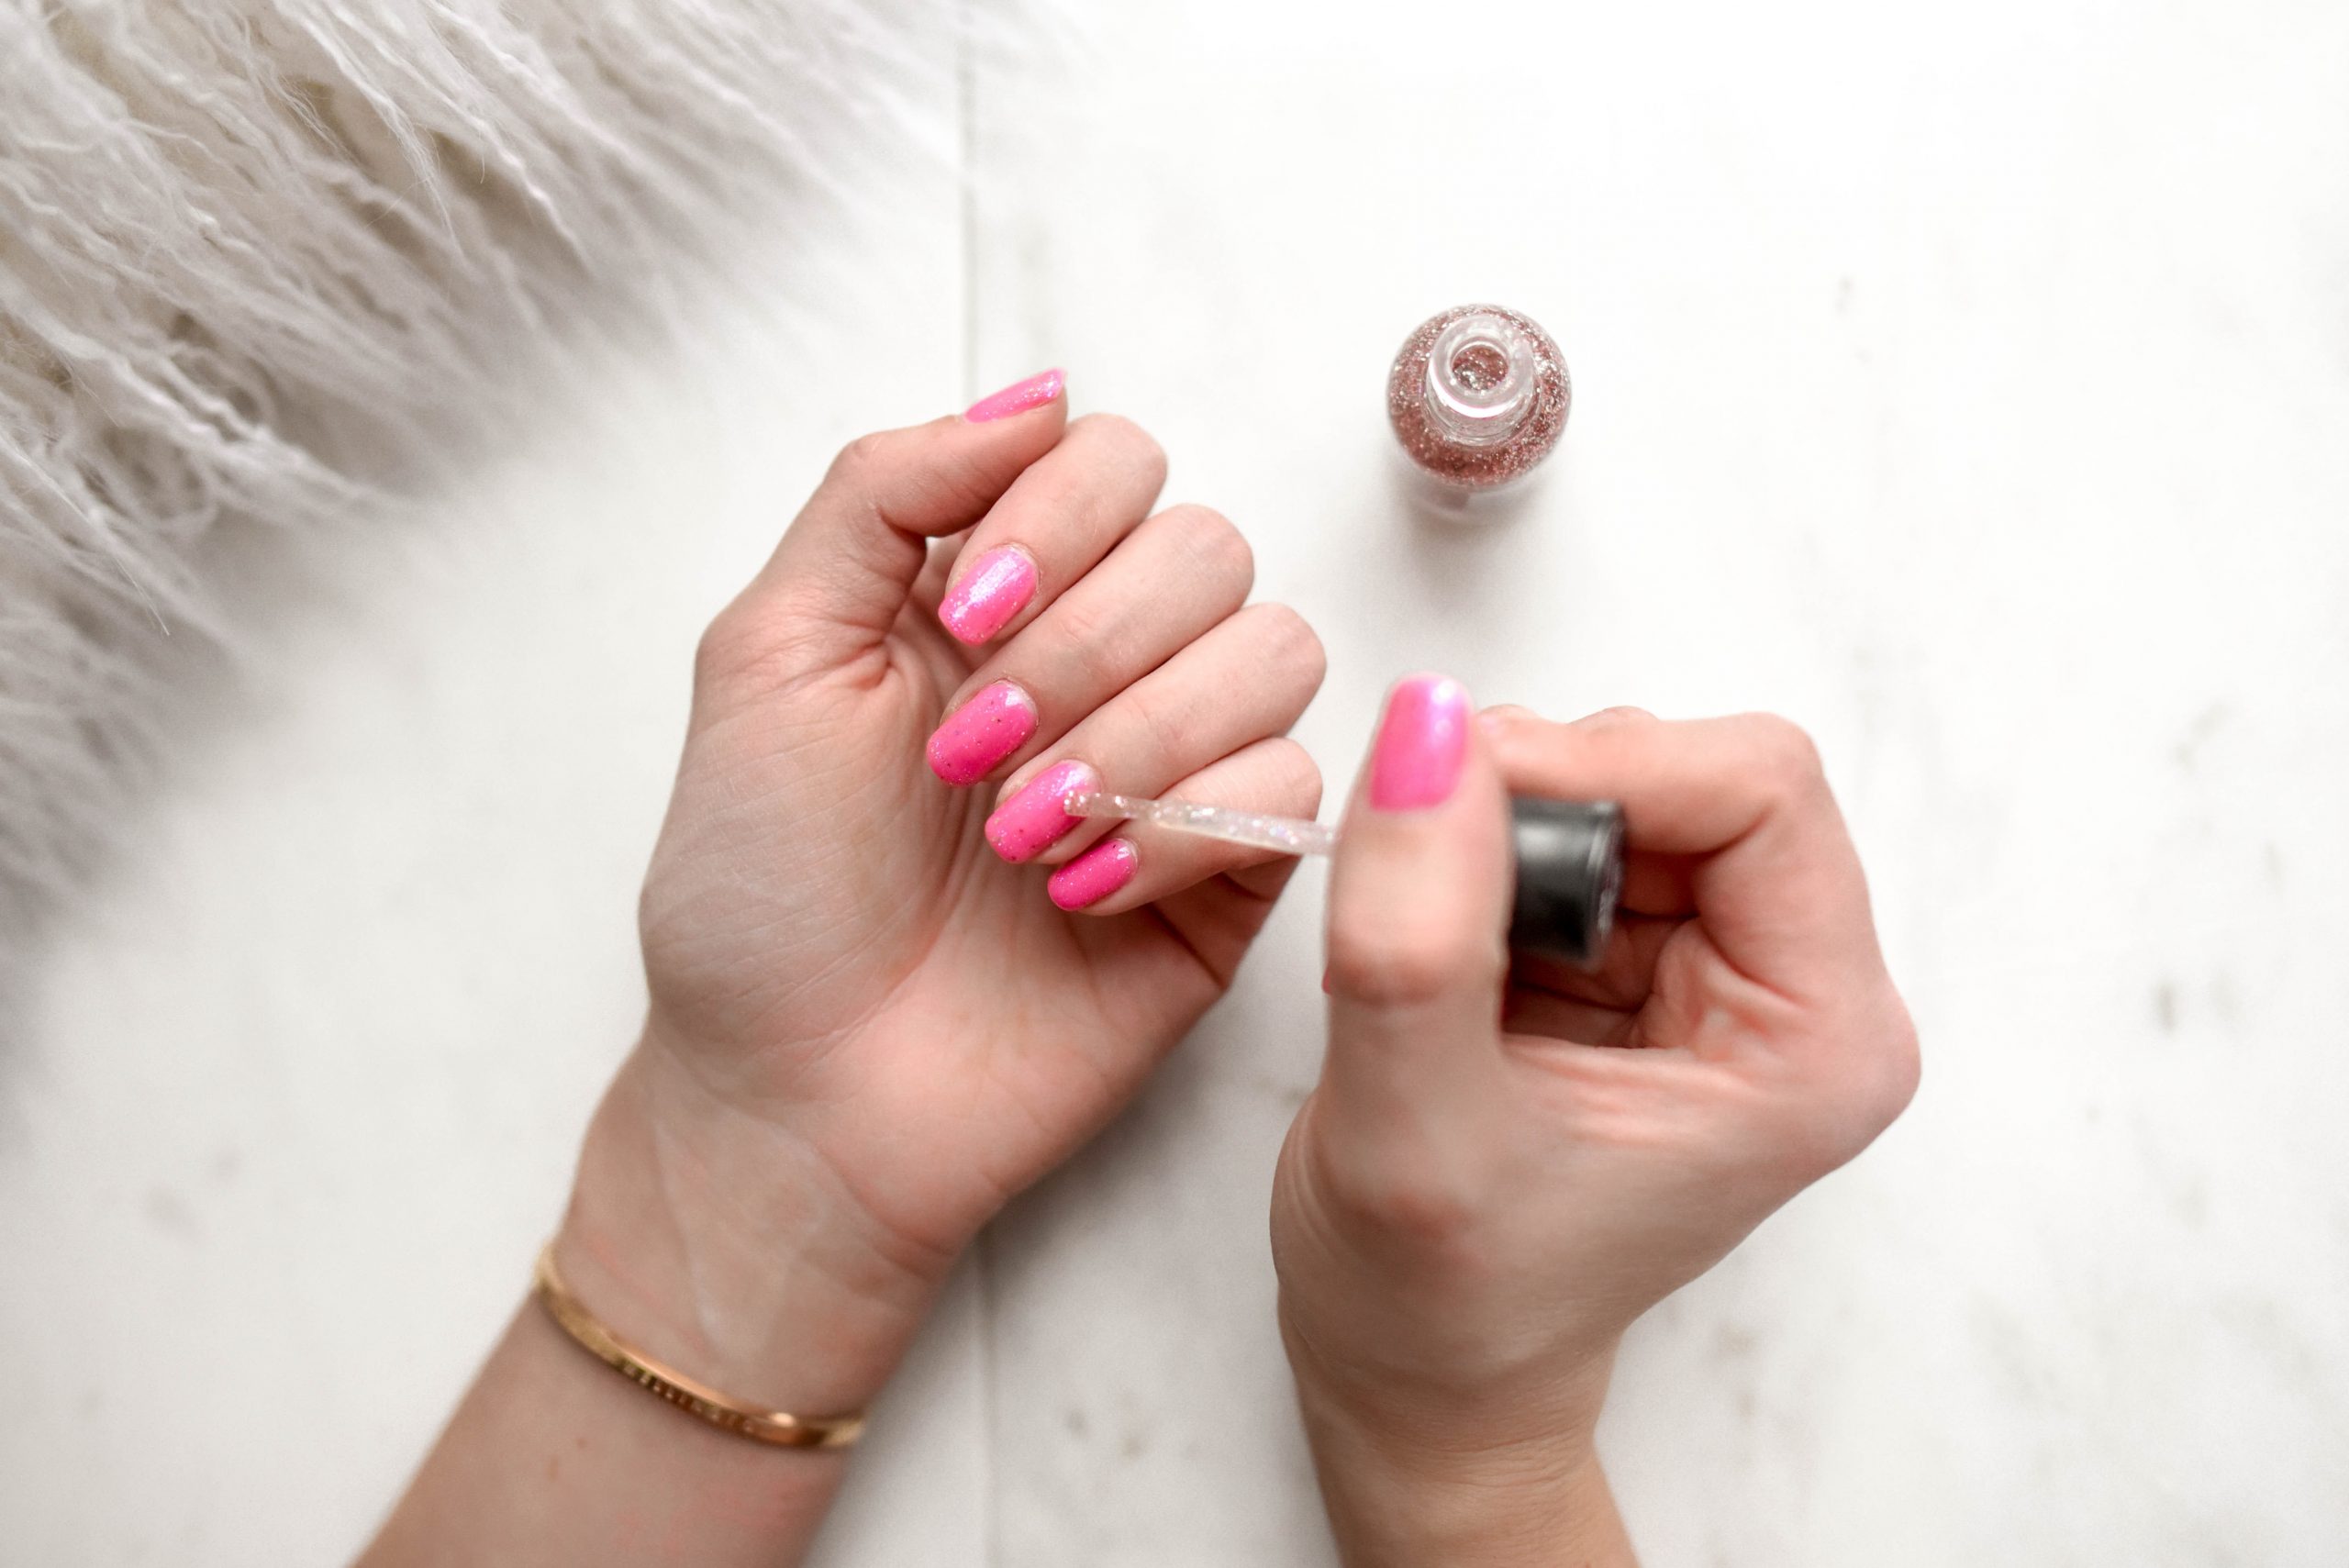
 When you’re ready to colour your nails, start from the center and swipe on one layer. Always remember to keep layers thin, and wait 5-10 minutes in between coats to prevent bubbles while minimising messes and mistakes. This layering method also helps your polish to dry faster and set better – so you don’t end up having to spend the rest of your day or evening looking like you’ve got a muscular disease.
If you make any mistakes, don’t panic. Just dip a cotton bud into some nail polish remover and clean up the messes around the edges, or employ a handy nail polish remover pen if you’re feeling fancy.
Top it off

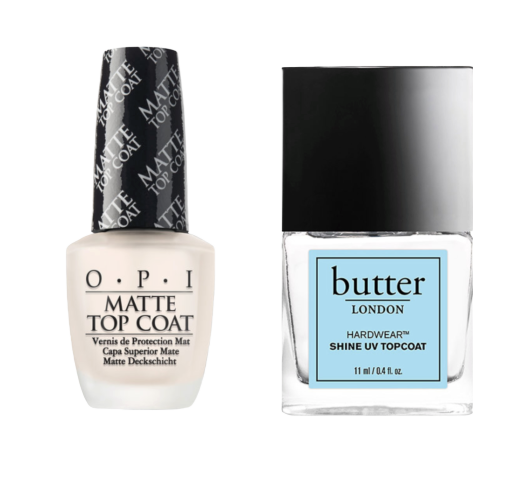
After your nail colour has fully dried, apply a clear top coat with your desired finish. For high shine, Butter London’s Hardwear Shine UV Topcoat also comes with UV protection to help protect your nails from UV damage. If you prefer a more matte finish – there’s the tried-and-true favourite, OPI’s Matte Top Coat. Applying a top coat is imperative if you want your colour to stay vibrant and last longer without chipping.
Photos: Pexels and respective brands.


